
Disable Driver Signature Enforcement Feature Using Automatic Repair
Automatic Repair is an built-in troubleshooter, which should help to fix the most common computer issues. It is a system recovery tool that automates common diagnostic and repair tasks of unbootable Windows 10 installations. In this case, we are will use the Startup Settings option to disable the Driver Signature Enforcement Feature.
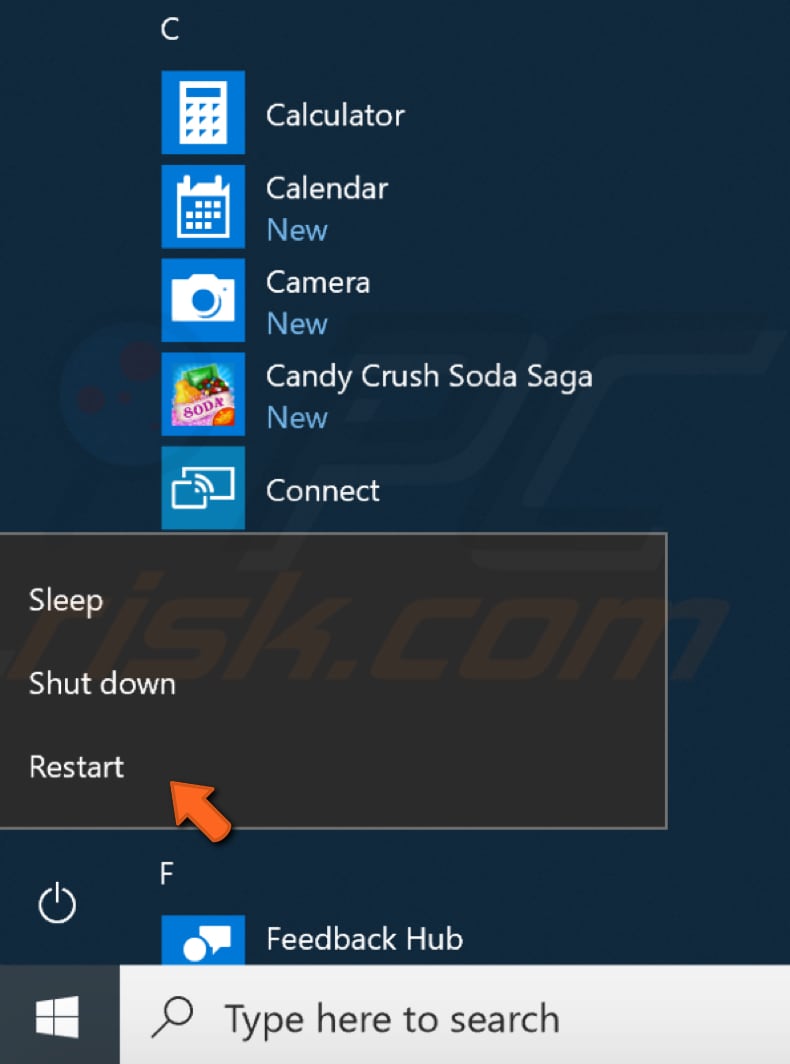
Bear in mind that this method disables Driver Signature Enforcement temporarily - it will be re-enabled the next time you start Windows. To temporarily disable Driver Signature Enforcement, click the Power button and then click "Restart" while holding the Shift key. This will restart your computer and open the Automatic Repair screen.
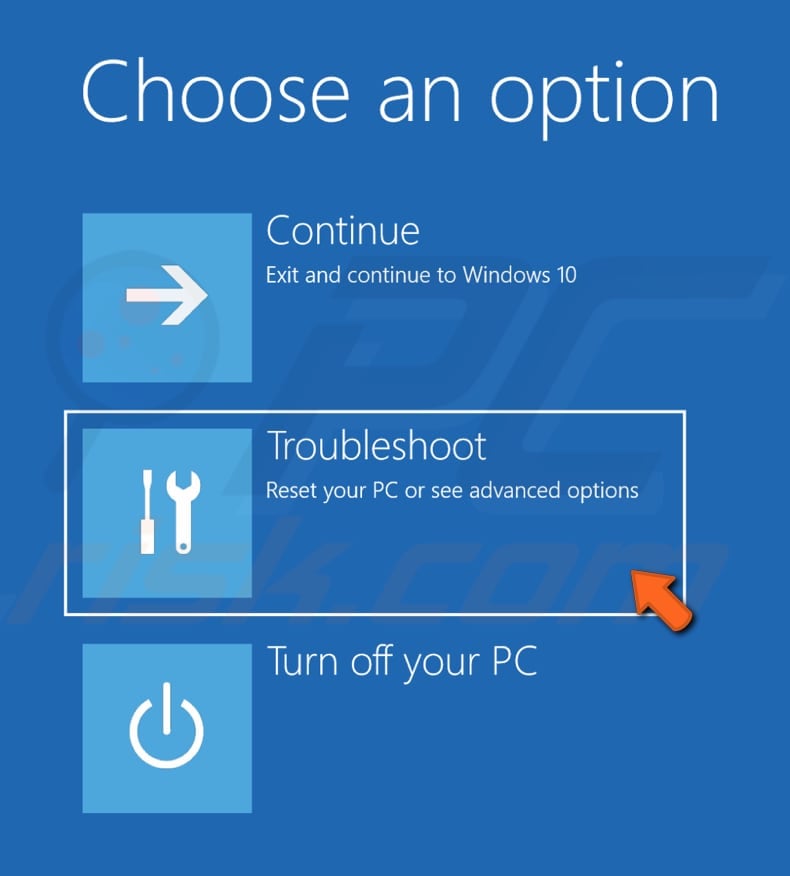
In the Automatic Repair blue screen, click "Troubleshoot".
In Troubleshoot, click "Advanced Options".

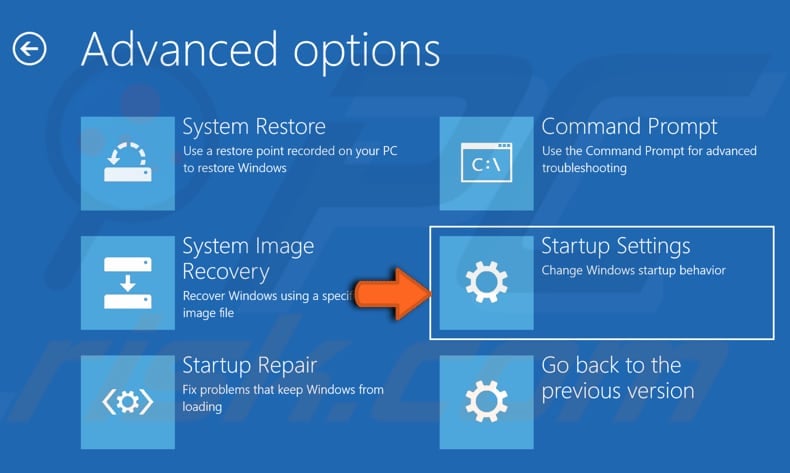
In Advanced options, select "Startup Settings".
In Startup settings, click "Restart". This will restart your computer so you can change Windows options.
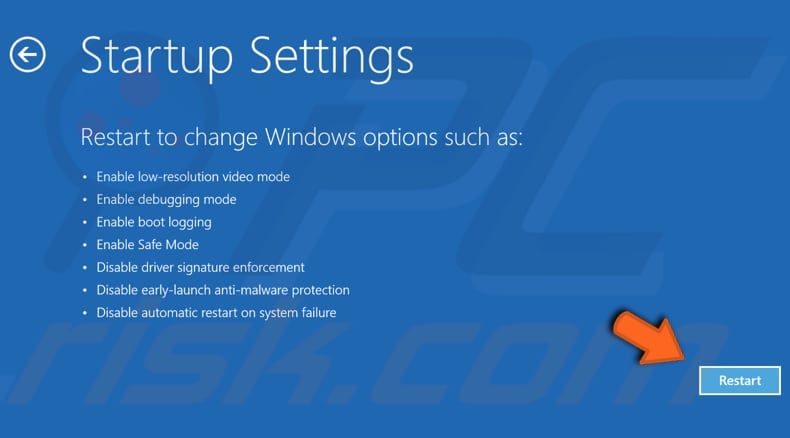
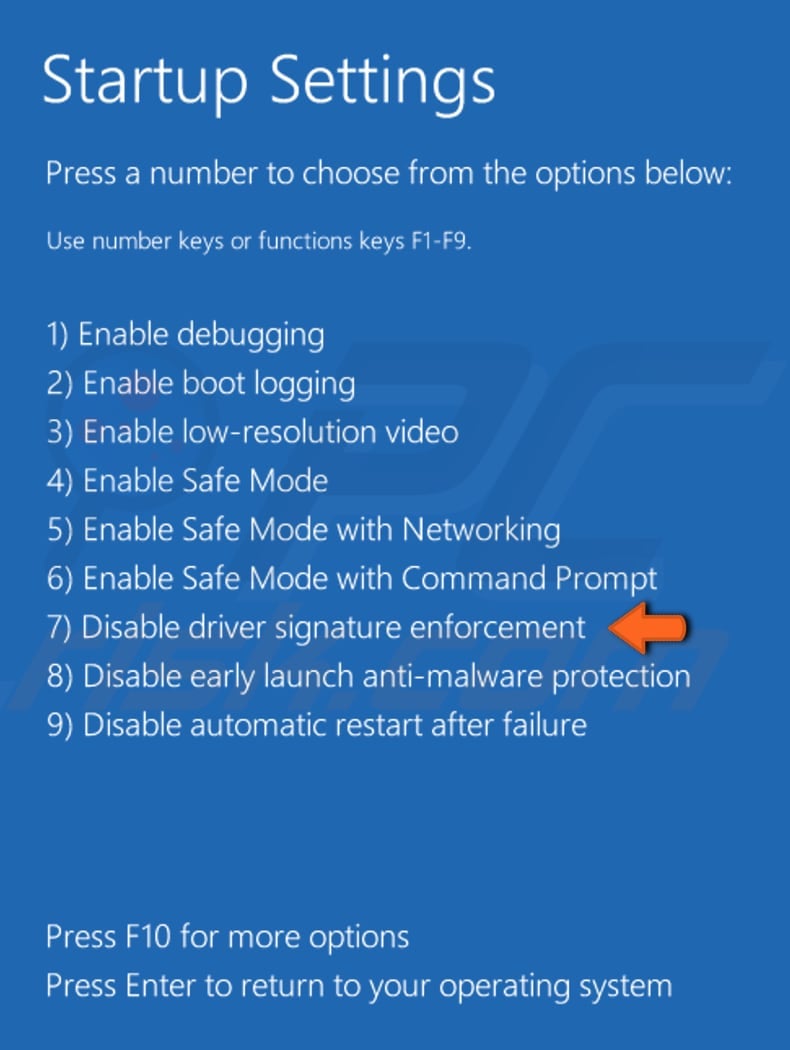
Now press number 7 or F7 and this will start Windows with the option to disable Driver Signature Enforcement.
Now you can install the unsigned drivers, until the next restart. We hope that this guide was helpful and that you were able to disable Driver Signature Enforcement.
علي سكاف
ردحذف👍
ردحذف